
Notice
Recent Posts
Recent Comments
Link
| 일 | 월 | 화 | 수 | 목 | 금 | 토 |
|---|---|---|---|---|---|---|
| 1 | 2 | 3 | 4 | 5 | 6 | 7 |
| 8 | 9 | 10 | 11 | 12 | 13 | 14 |
| 15 | 16 | 17 | 18 | 19 | 20 | 21 |
| 22 | 23 | 24 | 25 | 26 | 27 | 28 |
| 29 | 30 | 31 |
Tags
- Isaac
- product hunt
- 5090
- ROS2
- isaac gym
- 포인트클라우드 활용
- precision-recall
- isaac sim rtx 50
- 포인트클라우드
- isaac lab
- 협동로봇
- 포인트클라우드 사용
- isaac-sim
- script editor
- nVidia
- 3d 데이터
- ros2 bridge
- Mean Average Precision
- 포인트클라우드 예시
- 경사하강법
- 성능평가방법
- isaac sim
- 렌더링 품질
- simulation
- rtx 50 series
- object detection
- 포인트 클라우드
- ground truth
- isaac sim 50시리즈 이슈
- 3d 포인트클라우드
Archives
- Today
- Total
Everything is NORMAL
3. Isaac Sim Tutorial: Script Editor Extension으로 첫 시뮬레이션 하기 본문
개발/Isaac Sim 4.5.0
3. Isaac Sim Tutorial: Script Editor Extension으로 첫 시뮬레이션 하기
smlee- 2025. 7. 18. 17:34Isaac Sim - Script Editor Extension
- Isaac Sim의 Script Editor Extension을 활용하여 Python 코드로 오브젝트를 생성하고 물리 적용 및 조작을 해봅시다.
- Script Editor를 사용하면, 사용자가 Python을 사용하여 스테이지와 상호작용을 할 수 있습니다.
- 독립실행형(Standalone) Python Workflow와 대부분 동일한 Python API를 사용하게 될 것입니다.
- 두 Workflow의 차이점은 시뮬레이션의 타임라인과 상호작용할 때 확실히 알 수 있습니다.
- 다음 튜토리얼에서 확실히 확인해봅시다! (Quickstart with a Robot)
Step 1. Script Editor 실행
- 새로운 Isaac Sim을 실행합니다.
- Menu Bar에서 Windiw > Script Editor를 클릭합니다.
Step 2. Ground Plane 추가
from isaacsim.core.api.objects.ground_plane import GroundPlane
GroundPlane(prim_path="/World/GroundPlane", z_position=0)- 하단 Run 버튼 클릭 (Ctrl + Enter)
- Ground Plane이 생성됨

Step 3. 조명(Light Source) 추가
- Distance Light 추가 → Scene에 광원이 있지만, 빛을 반사할 개체가 없는 경우 Scene은 어두울 수 있습니다.
- Script Editor에서 새 탭을 엽니다. (Tab > Add Tab)
- 아래 코드를 복붙, 실행하여 조명을 추가합니다.
import omni.usd
from pxr import Sdf, UsdLux

stage = omni.usd.get_context().get_stage()
distantLight = UsdLux.DistantLight.Define(stage, Sdf.Path("/DistantLight"))
distantLight.CreateIntensityAttr(300)
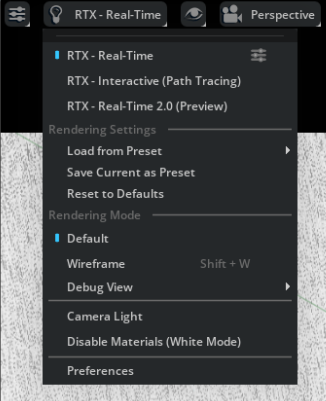
- RTX 50 Series 유저라면, 위 이미지와 같이 렌더링 품질이 낮은 경우가 발생할 수 있는데, 이건 4.5.0 버전의 문제입니다.
- RTX 설정에서 Interactive (Path Tracing)을 선택하면 일단 조금은 나은 환경이 됩니다.
Step 4. Visual Cube 추가
- “Visual” 큐브는 물리 속성이 포함되지 않은 큐브입니다.
- Script Editor에서 새 탭을 엽니다. (Tab > Add Tab)
- 아래 코드를 복붙, 실행하여 두 개의 큐브를 추가합니다.
- 하나는 visual으로 유지하고, 비교를 위해 다른 하나에 물리 및 충돌 속성을 추가하겠습니다.
import numpy as np
from isaacsim.core.api.objects import VisualCuboid
VisualCuboid(
   prim_path="/visual_cube",
   name="visual_cube",
   position=np.array([0, 0.5, 0.5]),
   size=0.3,
   color=np.array([255, 255, 0]),
)
VisualCuboid(
   prim_path="/test_cube",
   name="test_cube",
   position=np.array([0, -0.5, 0.5]),
   size=0.3,
   color=np.array([0, 255, 255]),
)

- Isaac Sim Core API는 raw USD와 물리 엔진 api를 위한 wrapper입니다.
- 하지만, raw USD API를 사용하여 물리 및 충돌 속성이 없는 pure visual cube를 추가할 수도 있습니다.
- raw USD API는 verbose(장황?)하지만 각 속성에 대한 더 많은 제어 권한을 제공합니다.
from pxr import UsdPhysics, PhysxSchema, Gf, PhysicsSchemaTools, UsdGeom
import omni

# USD api for getting the stage
stage = omni.usd.get_context().get_stage()

# Adding a Cube
path = "/visual_cube_usd"
cubeGeom = UsdGeom.Cube.Define(stage, path)
cubePrim = stage.GetPrimAtPath(path)
size = 0.5
offset = Gf.Vec3f(1.5, -0.2, 1.0)
cubeGeom.CreateSizeAttr(size)
if not cubePrim.HasAttribute("xformOp:translate"):
  UsdGeom.Xformable(cubePrim).AddTranslateOp().Set(offset)
else:
  cubePrim.GetAttribute("xformOp:translate").Set(offset)
Step 5. 물리 / 충돌 속성 적용
- Isaac Sim에서 오브젝트가 중력의 영향을 받거나, 다른 오브젝트와 충돌하도록 하려면 Physics 속성과 Collision 속성을 추가해주어야 합니다.
- Common Physics / Collision Properties란?
- Physics Properties:
- 물체의 질량(mass)과 관성 행렬(inertia matrix) 등을 포함하며, 중력의 영향을 받아 움직이는 동작을 가능하게 합니다.
- Collision Properties:
- 물체가 다른 물체와 충돌했을 때 상호작용을 감지할 수 있게 해주는 속성입니다.
- Physics Properties:
- Isaac Sim에서는 이 과정을 간편하게 만들기 위해 자주 사용하는 물리 오브젝트에 대해 물리 속성과 충돌 속성이 포함된 래퍼 API를 제공합니다.
DynamicCuboid: 물리 속성이 포함된 큐브 생성 예제
import numpy as np
from isaacsim.core.api.objects import DynamicCuboid

DynamicCuboid(
   prim_path="/dynamic_cube",
   name="dynamic_cube",
   position=np.array([0, -1.0, 1.0]),
   scale=np.array([0.6, 0.5, 0.2]),
   size=1.0,
   color=np.array([255, 0, 0]),
)- DynamicCuboid()는 기본적으로:
- 물리 속성: 질량, 중력 반응 포함
- 충돌 속성: Collider 포함
- 시각 속성: 색상, 크기 포함

- 만약, 이미 생성한 VisualCube 혹은 다른 객체가 있다면, 다음과 같은 방식으로 나중에 물리 속성만 추가할 수도 있습니다.
RigidPrim + Collision API 적용 예제
from isaacsim.core.prims import RigidPrim
RigidPrim("/test_cube")  # 물리 속성 추가

from isaacsim.core.prims import GeometryPrim
prim = GeometryPrim("/test_cube")
prim.apply_collision_apis()  # 충돌 속성 추가
- RigidPrim() → 질량/중력 등 물리 속성 추가
- apply_collision_apis() → Collider 생성
위의 DynamicCuboid 또는 test_cube에 물리/충돌 속성을 추가한 뒤, 좌측 메뉴의 ▶️ Play 버튼을 눌러보세요.
- 큐브가 중력에 의해 떨어지고
- Ground Plane에 부딪히는 물리 반응이 재현됩니다.
Step 6. 큐브 조작하기 (Move/Rotate/Scale)
Isaac Sim에서는 Core API와 Raw USD API를 통해 오브젝트를 이동/회전/크기 조절할 수 있습니다.
- Move는 위치를 설정합니다.
- Rotate는 방향을 설정하며, 주로 쿼터니언 또는 오일러 각도로 지정합니다.
- Scale은 오브젝트의 크기를 축별로 조절합니다.
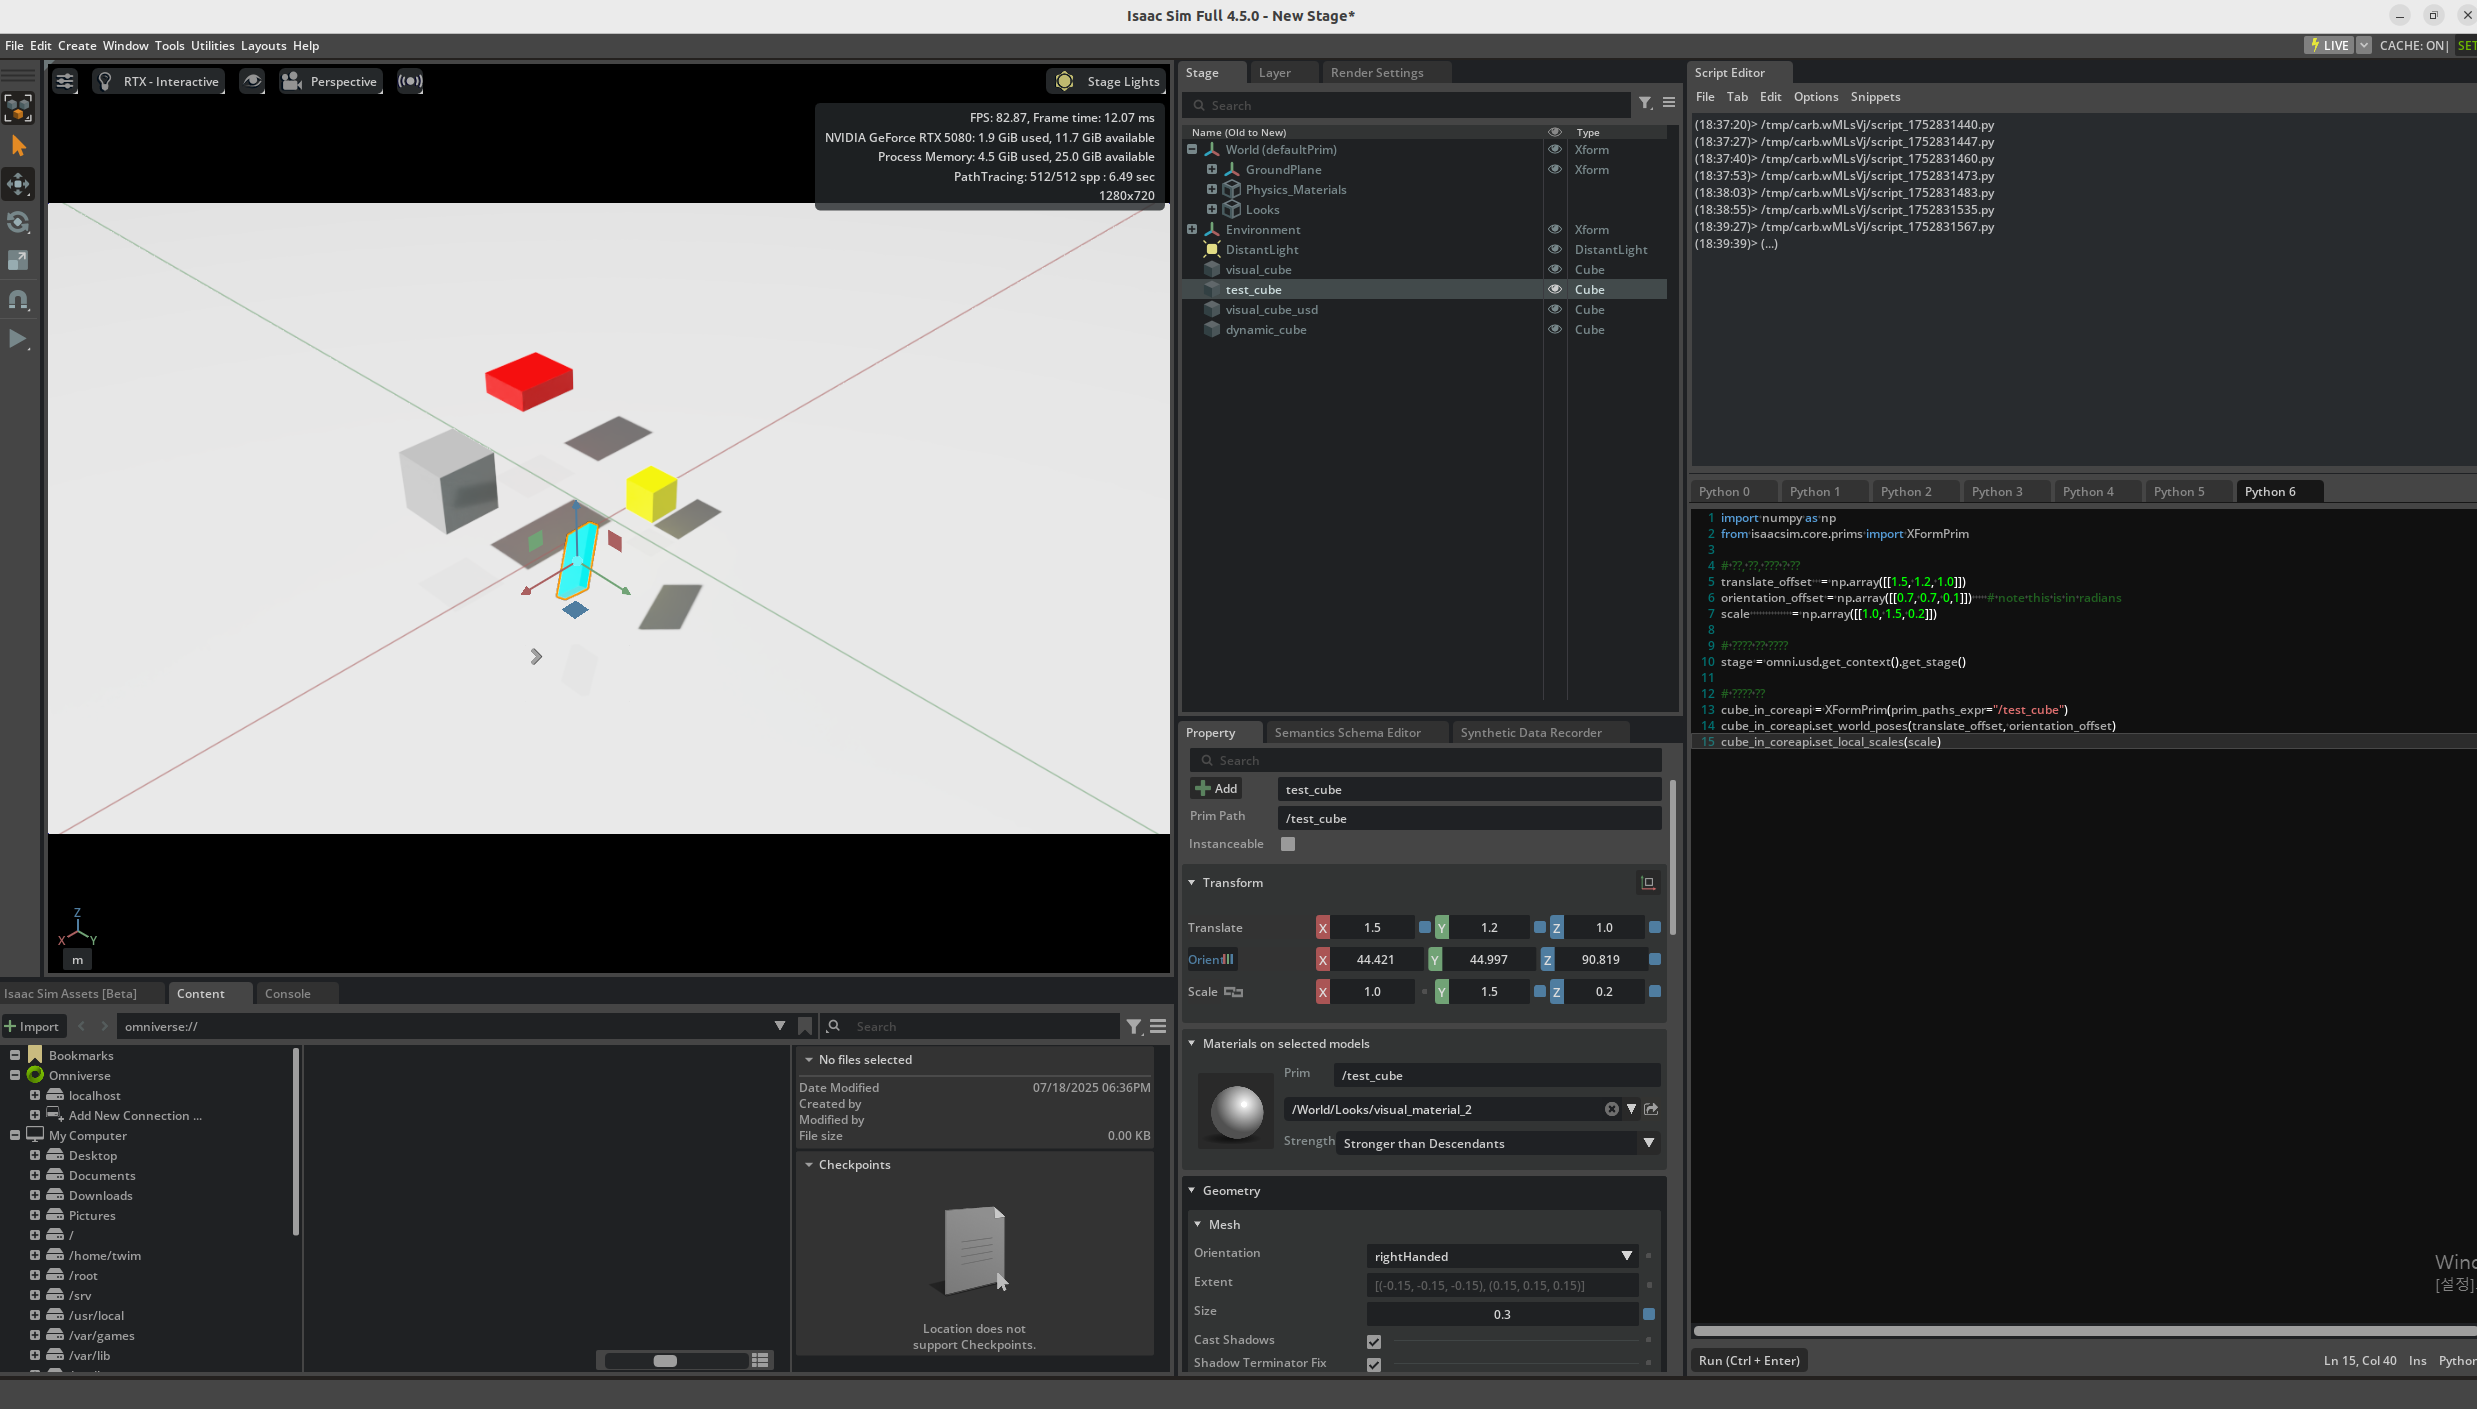
1) Core API 사용 예제
Isaac Sim Core API에서는 XFormPrim 클래스를 통해 큐브와 같은 오브젝트의 pose (위치/회전)와 크기를 손쉽게 설정할 수 있습니다.
import numpy as np
from isaacsim.core.prims import XFormPrim

# 위치, 회전, 스케일 값 정의
translate_offset   = np.array([[1.5, 1.2, 1.0]])
orientation_offset = np.array([[0.7, 0.7, 0,1]])     # note this is in radians
scale              = np.array([[1.0, 1.5, 0.2]])

# 스테이지 객체 가져오기
stage = omni.usd.get_context().get_stage()

# 오브젝트 조작
cube_in_coreapi = XFormPrim(prim_paths_expr="/test_cube")
cube_in_coreapi.set_world_poses(translate_offset, orientation_offset)
cube_in_coreapi.set_local_scales(scale)
- set_world_poses()는 위치 + 회전을 한 번에 설정하며,
- set_local_scales()는 로컬 스케일을 조정합니다.
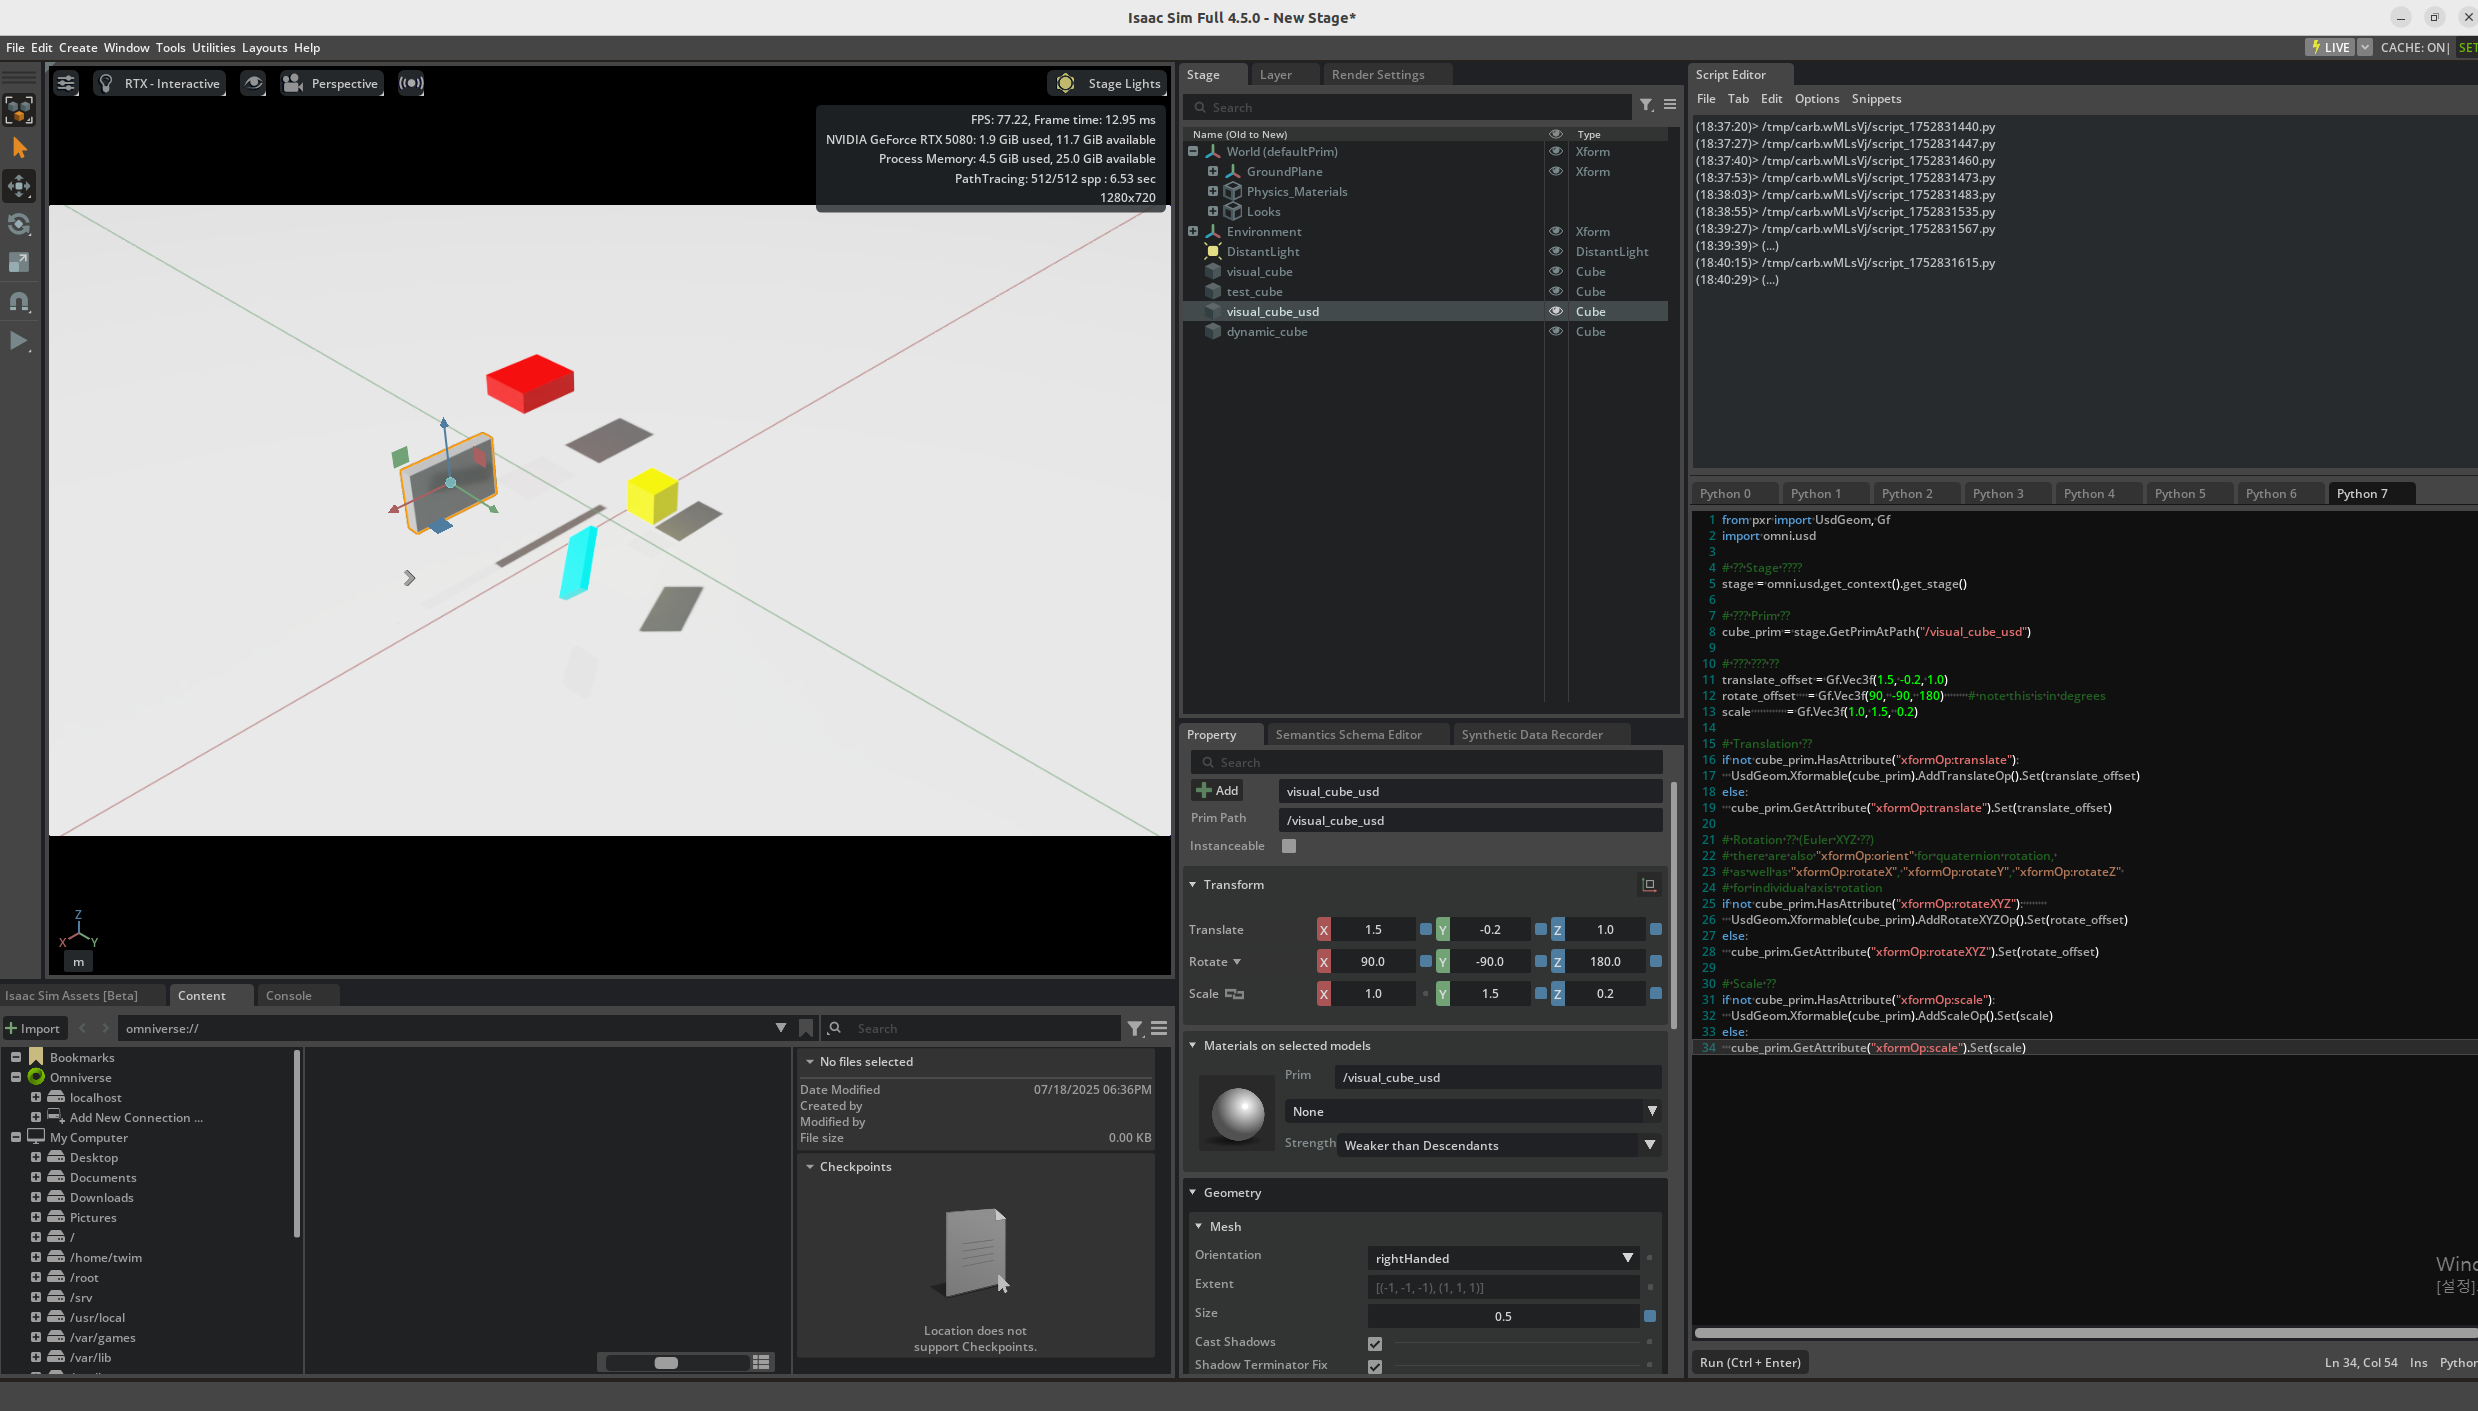
2) raw USD API 사용 예제
Isaac Sim은 NVIDIA에서 개발한 USD 기반의 시뮬레이터이기 때문에, 저수준 접근을 위해 raw USD API (pxr 모듈) 를 사용할 수 있습니다.
이번 예제에서는 /visual_cube_usd 경로에 위치한 시각화 큐브에 대해 이동(Translate), 회전(RotateXYZ), **스케일(Scale)**을 각각 설정합니다.
from pxr import UsdGeom, Gf
import omni.usd

# 현재 Stage 가져오기
stage = omni.usd.get_context().get_stage()

# 조작할 Prim 지정
cube_prim = stage.GetPrimAtPath("/visual_cube_usd")

# 설정할 속성값 정의
translate_offset = Gf.Vec3f(1.5, -0.2, 1.0)
rotate_offset    = Gf.Vec3f(90,  -90,  180)        # note this is in degrees
scale            = Gf.Vec3f(1.0, 1.5,  0.2)

# Translation 적용
if not cube_prim.HasAttribute("xformOp:translate"):
   UsdGeom.Xformable(cube_prim).AddTranslateOp().Set(translate_offset)
else:
   cube_prim.GetAttribute("xformOp:translate").Set(translate_offset)

# Rotation 적용 (Euler XYZ 순서)
# there are also "xformOp:orient" for quaternion rotation,
# as well as "xformOp:rotateX", "xformOp:rotateY", "xformOp:rotateZ"
# for individual axis rotation
if not cube_prim.HasAttribute("xformOp:rotateXYZ"):
   UsdGeom.Xformable(cube_prim).AddRotateXYZOp().Set(rotate_offset)
else:
   cube_prim.GetAttribute("xformOp:rotateXYZ").Set(rotate_offset)

# Scale 적용
if not cube_prim.HasAttribute("xformOp:scale"):
   UsdGeom.Xformable(cube_prim).AddScaleOp().Set(scale)
else:
   cube_prim.GetAttribute("xformOp:scale").Set(scale)
'개발 > Isaac Sim 4.5.0' 카테고리의 다른 글
| 4. Isaac Sim(4.5.0)과 ROS2 연동 설치 가이드 (2) | 2025.07.25 |
|---|---|
| Isaac Sim 4.5.0 RTX 50 시리즈에서 렌더링 품질 이슈 (0) | 2025.07.18 |
| 2. Isaac Sim Tutorial: GUI로 첫 시뮬레이션 하기 (1) | 2025.07.18 |
| 1. Isaac Sim 설치하기 (1) | 2025.07.18 |
| 0. Isaac Sim이란? 로봇 개발자들이 주목하는 시뮬레이터 (2) | 2025.07.18 |
'개발/Isaac Sim 4.5.0' Related Articles
more


Comments